
Contents
Concept
Research
Artwork
Components
Prototyping
Project duration:
24 days, starting 4th October 2020 – 28th October 2020 (includes delays).
Delays:
There was a delay waiting for the care label that was on a long lead time. (Well, two weeks which is long for this project.)
Deliverable:
1 prototype, (gifted)
Concept
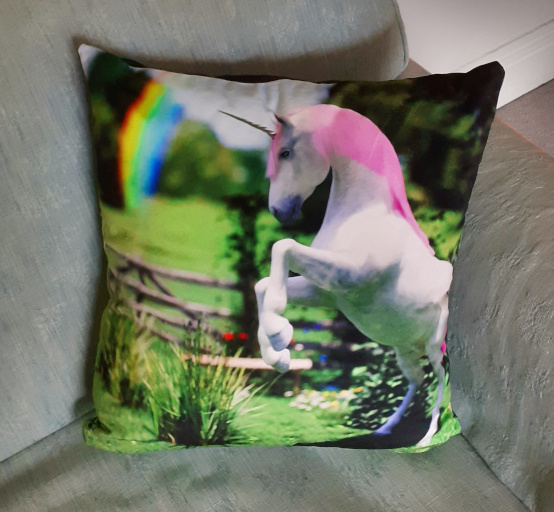
The concept of the cushion was derived from personal experience of the need for cushions both for watching TV but, also as a novelty gift. The main goal I wanted to achieve was to do as much of the creation as possible and hence be custom made. I did use some 3rd party assets in the artwork just to save time and my sanity as well! This design is targeted for a 10-year-old.
Research
Looking into designs there seems to be rainbows and unicorns together so this was a consideration for the artwork.
Then there was the material types and printing. I had a look across a few sites and found a materials printer with a great web interface for easy use. So I looked into Prinfab. I ordered a sample pack of materials. From here I looked at the ease of care for the material, being that it was going to an older child. Also, the comfort of the material, strength and print quality, so as to get the best-enhanced colours for the artwork. The material also has recommended care instructions.
I had to look into care labels and decided to get my own labels printed. I used wunderlabel.co.uk. This was an interesting adventure into the trademarks. I determined that the ‘Designer’ word could be used in the UK for designer items as it is not trademarked and generic.
I looked at the standard cushion sizes to get the biggest but readily available and purchased the cushion fillers. I also wanted to get a protective plastic cover to protect the finished item while being delivered (by hand, after COVID-19 restrictions were loosened!). The plastic cover is not very environmentally friendly but, it should be recycled.
I had to look at the zips, I had another basic cushion made, not as exciting as this project but I wanted the same zip type. This is because I know the zip I have on the other cushion is durable and long lasting.
Artwork
One of the main points for the artwork was the 180 DPI that is recommended for the best print on the material selected, also allow for a bleed margin so the image is slightly bigger than the required size for the cushion.
I was able to use existing assets for the field ‘Wild Borders‘ and the horse ‘DAZ Horse 2 Starter Bundle‘, they are held under license from Daz3D. It would have been a bit quicker to use the actual unicorn option from Daz3D but I wanted to add value.
Most of the work to the horse was in applying realistic hair, the mane that I replaced with a hair particle system. The tail that I also used hair particles for. The creation of a unicorn horn and rainbow. The horn did take at least a day or two as it is more than just a horn, it has a pattern to it as well. It was quite a lot harder to get that right than I first thought. The rainbow that the current prototype has was very hard and is actually a bit wrong, such are the nature of prototypes!
Another thing that took time were the materials used. This took a few sample renders to get it right. Camera angles had to be tweaked a few times and front/back for a double-sided cushion. I did actually use a different colour maine in an initial test sample to check colouring and print quality.
Initial colouring:
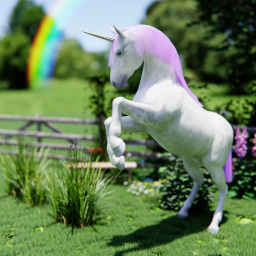
Alternative colouring:
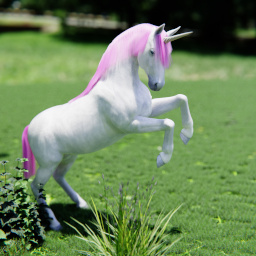 Note, the rainbow that is slightly wrong and you can make out the edge of the grass on the back piece.
The artwork was composed in Blender and rendered or rather raytraced using Blender Cycles.
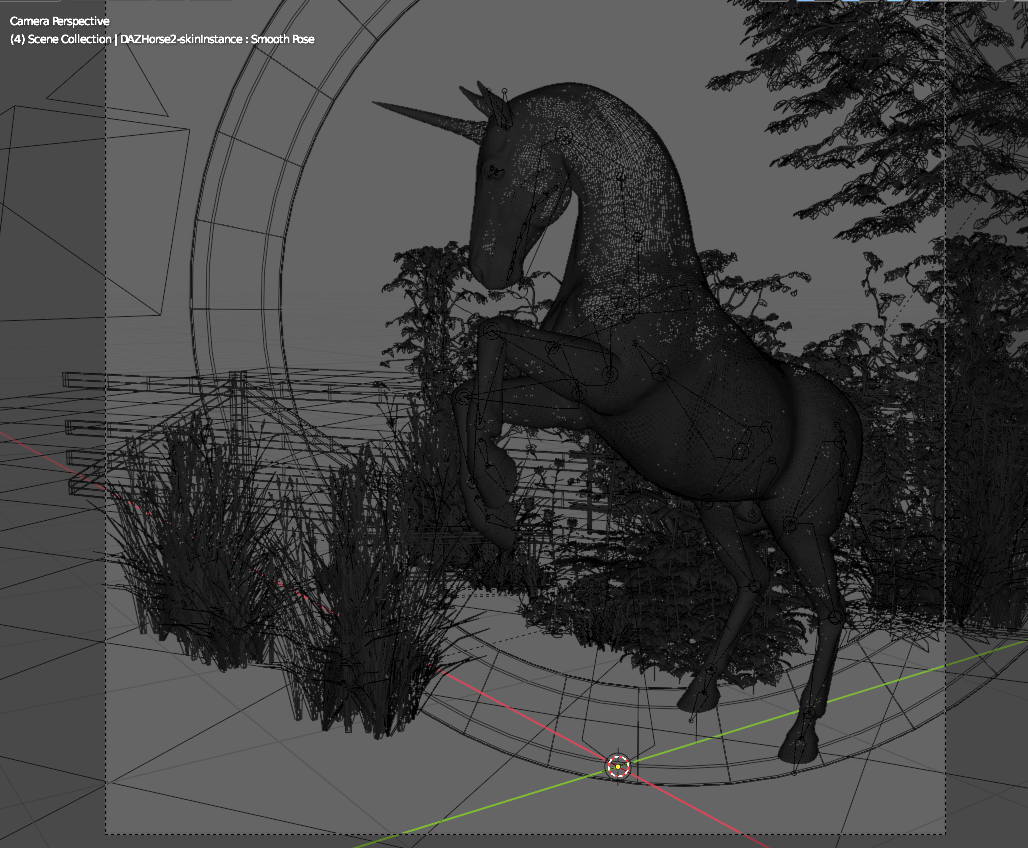
Note some elements are hidden, hair and grass system.
Components
The components were all ordered so I had a kit of items as follows: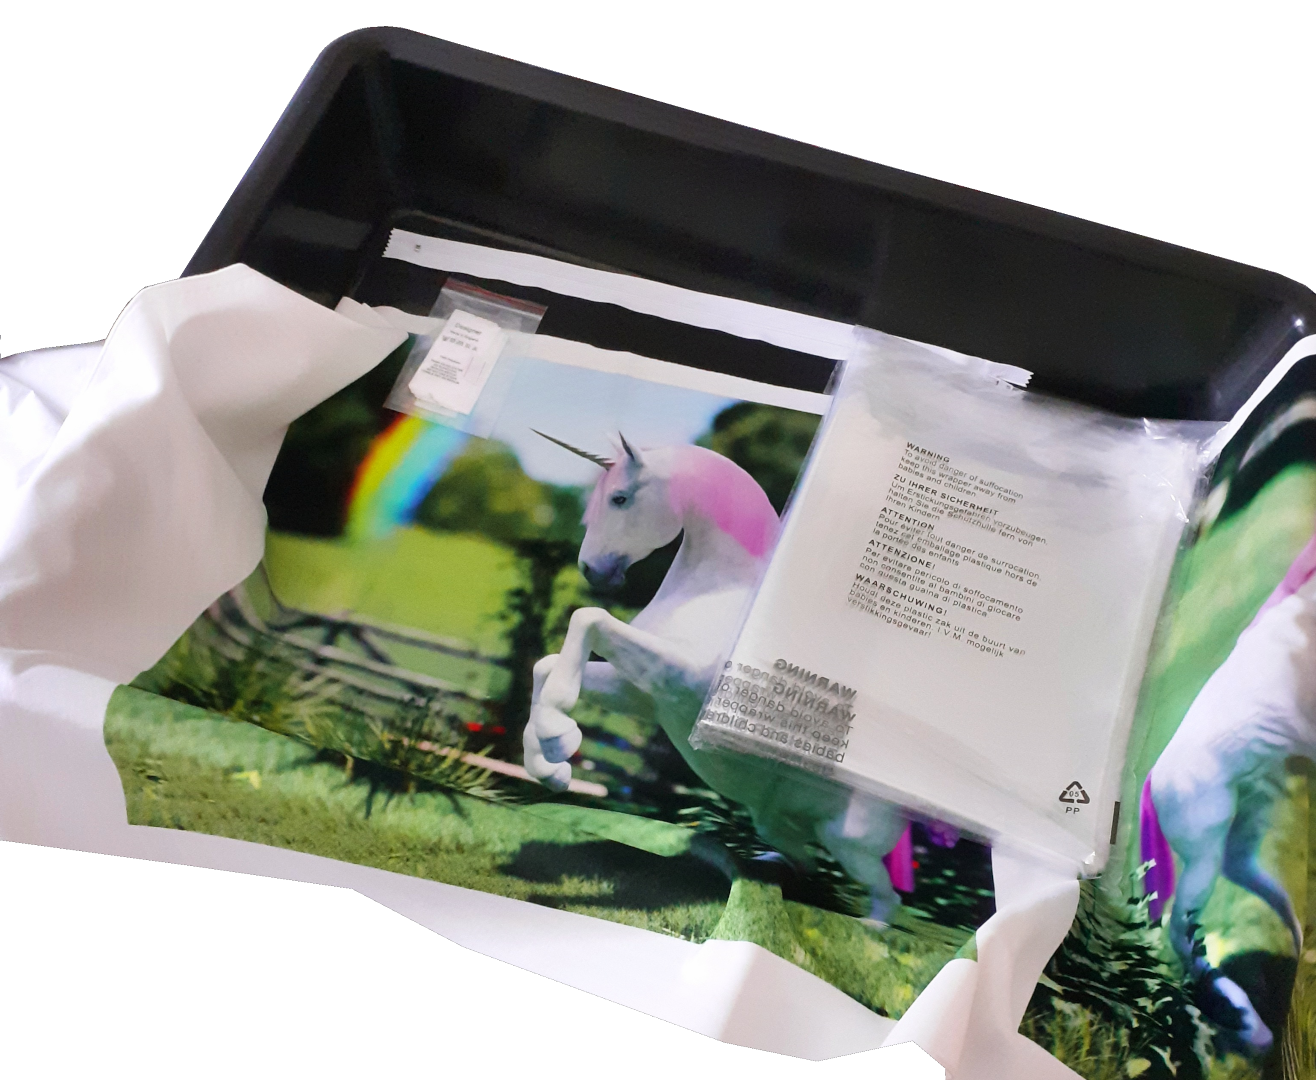
The thread used (not in the picture) was polyester and white. I used a white zip and white with black text for the care label (pictured just near the rainbow).
Prototyping
The cushion was sewn using a sewing machine. I decided to use the stronger zig-zag stitching to strengthen the cushion cover. Sewing in the care label proved a little tricky. I did have to unstitch the label as it must be lined up exactly right. The zip was fun too however, I have stitched those before.